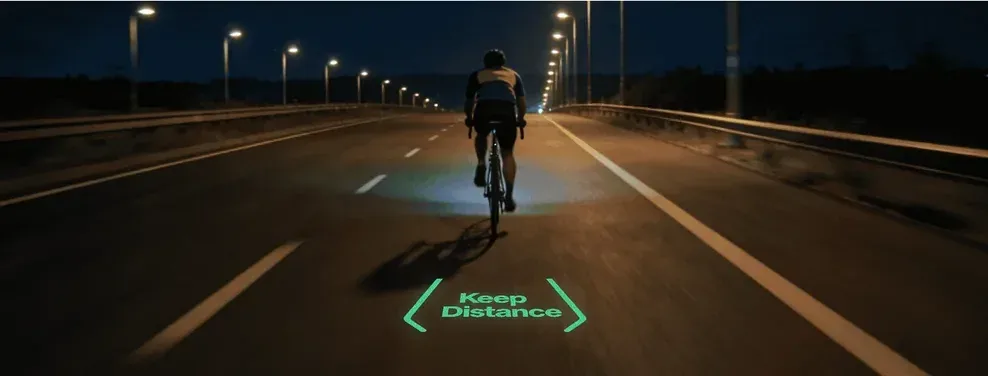
Staying visible during an urban night ride involves more than attaching a powerful light to a bicycle. Other road users must first detect that something is present, recognize that it is a cyclist, and understand how that cyclist is likely to move.
Night cycling visibility has three levels
A cyclist can be brightly illuminated without being immediately understood. For example, a small red light may alert a driver that an object is ahead, but the driver may still need more visual information to recognize that the object is a cyclist and anticipate where it will move.
Detection
Helping other road users notice that you are present.
Recognition
Helping them identify you as a moving cyclist, not just an isolated light.
Communication
Helping them understand your direction, position, and likely next action.
Bike lights, reflectors, road positioning, signals, and supplementary display technologies each support a different part of this process. The strongest night-riding setup does not rely on one product. It combines several visibility layers.
Start with the essential lighting layer
The foundation of bike visibility at night remains a working white front light and red rear light. Road projection, reflective clothing, and connected cycling technology should be added only after the essential lighting setup is in place.
Use a white front light
A front light serves two related purposes: helping others detect the cyclist from ahead and helping the cyclist see the road surface. The amount and shape of light required depend on the riding environment, speed, road quality, weather, and surrounding traffic.
A front light should be securely mounted, aimed toward the road, bright enough for the environment, visible from ahead, and charged for the expected ride duration. More brightness is not automatically better. A poorly aimed beam can create glare for approaching drivers, pedestrians, and other cyclists.
Use a visible red rear light
The rear light helps approaching traffic detect the cyclist from behind. It should not be hidden by a long jacket, backpack, saddle bag, rear cargo, child seat, mud, or road debris.
Mount the light securely and check its visibility from several metres away rather than only looking at it while standing beside the bicycle. A backup rear light can help on longer rides, but a large collection of uncoordinated flashing lights may make the cyclist’s movement harder to interpret. The goal is a clear, recognizable signal.
Add reflective movement, not just reflective area
Reflective cycling gear is an important second layer, but where the reflective material is placed matters. A large reflective panel on the torso helps create a visible object. Reflective material on the legs and feet adds movement that may help an observer identify the object as a cyclist.
Useful locations include ankles, knees, shoes, pedals, lower legs, wheel spokes, and tire sidewalls. The repeated motion of the legs creates a recognizable pattern associated with cycling. The objective is not to cover every surface with reflective material. It is to create a clear combination of body outline, bicycle shape, and motion.
Fluorescent and reflective materials are not the same
Fluorescent clothing is primarily useful when ambient light is available, including daylight, dawn, dusk, overcast conditions, and poor daytime visibility. Reflective material works differently: it returns light toward its source, such as the headlights of an approaching vehicle.
For riders who begin before sunset and finish after dark, clothing that combines a bright base color with reflective details can support visibility across changing light conditions.
Build visibility from the side
Many urban traffic interactions do not happen directly in front of or behind the cyclist. A vehicle may approach from a side street, driveway, intersection, parking space, or turning lane. A front or rear light may provide limited information when viewed from the side.
Side visibility can be supported by wheel reflectors, reflective tire sidewalls, pedal reflectors, spoke-mounted reflective details, reflective ankle bands, and side-facing lights where permitted. Moving reflective components can help communicate both the bicycle’s shape and its direction of travel.
Make your movement predictable
Equipment can help people see a cyclist. Riding behavior helps them understand the cyclist. Predictable riding includes avoiding sudden lateral movement, looking behind before changing position, signaling before turning, moving into position early, following traffic direction, avoiding prolonged time in vehicle blind spots, and leaving enough space around parked vehicles.
Hand signals should be made early enough to communicate an intention, while still allowing the rider to maintain control of the bicycle. A cyclist should not assume that eye contact alone confirms that another road user has correctly understood the situation.
Choose a position where you can be seen
Riding as close as possible to the edge of the road is not always the most visible option. A cyclist may be obscured by parked cars, delivery vehicles, street furniture, trees, roadside signs, or other traffic. Brightness cannot compensate for being hidden behind a vehicle.
The appropriate road position depends on local laws and conditions. The broader principle is to avoid placing yourself where other road users are unlikely to look or where objects repeatedly block you from view.
Where cycling road projection fits
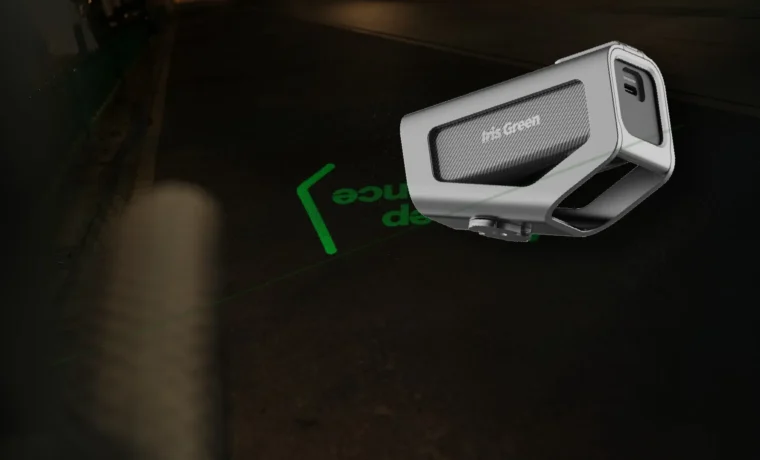
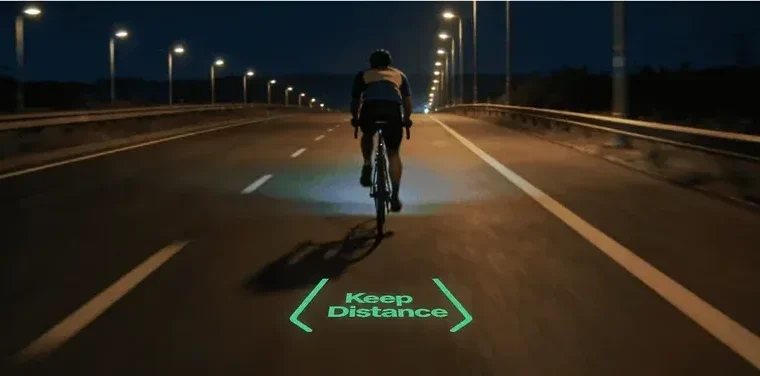
A bike projection display adds a different visual layer by placing selected information or graphics onto the road ahead. Depending on the product and riding mode, cycling road projection may display directional cues, ride information, turn-related symbols, warning graphics, or customized visual content.
Road projection is not the same as bicycle lighting. A front and rear light primarily help establish the presence and position of the cyclist. A bike projection display presents recognizable visual information. Its potential role is therefore closer to the communication layer.
Important: projected symbols do not guarantee that another person will see or interpret them correctly. Projection visibility depends on ambient light, road color, road texture, weather, projection position, viewing angle, and local regulations.
Road projection should be treated as supplementary equipment rather than a replacement for required lights, reflectors, signaling, or rider attention.
How IRIS Green fits into urban night riding
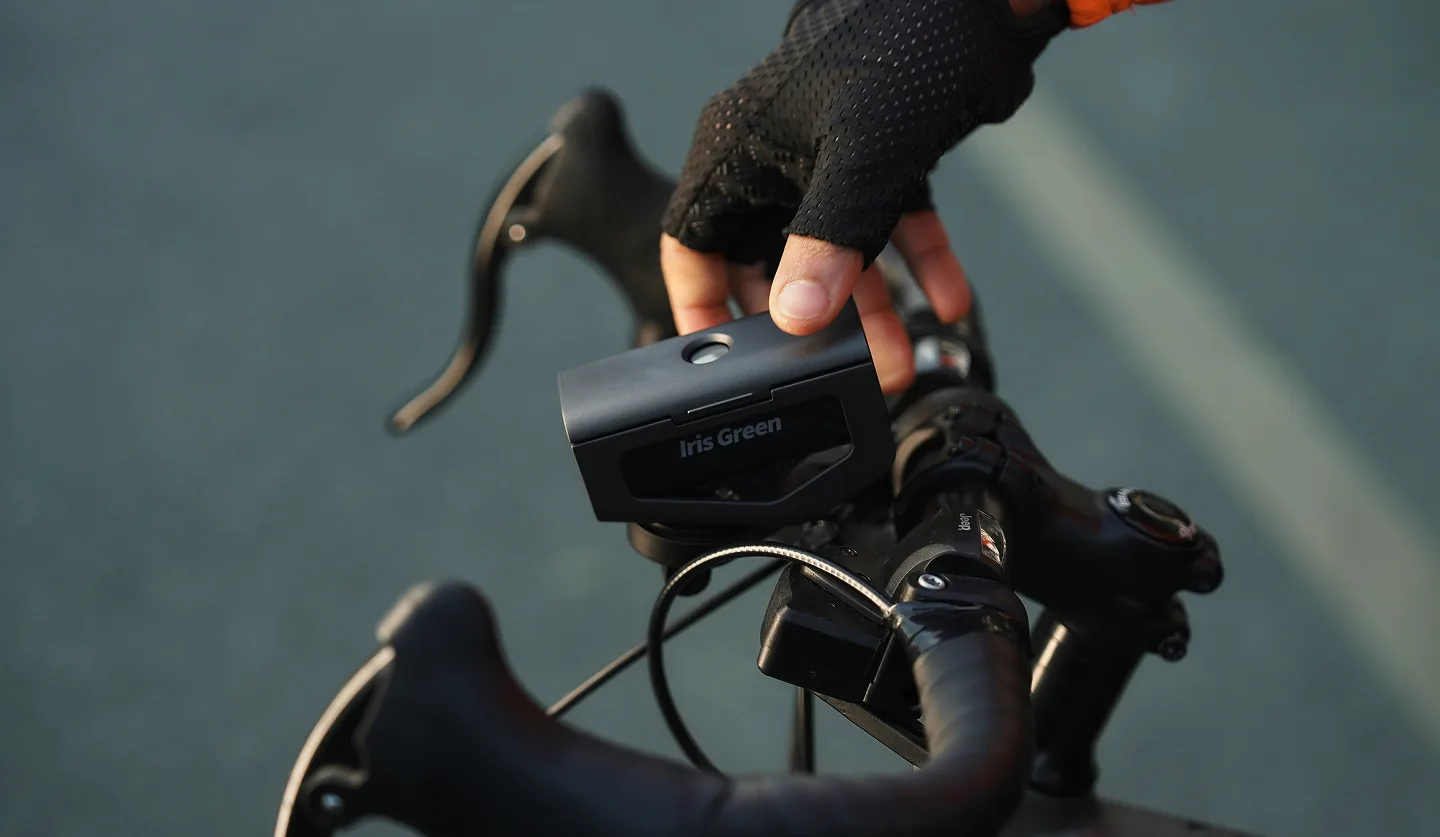
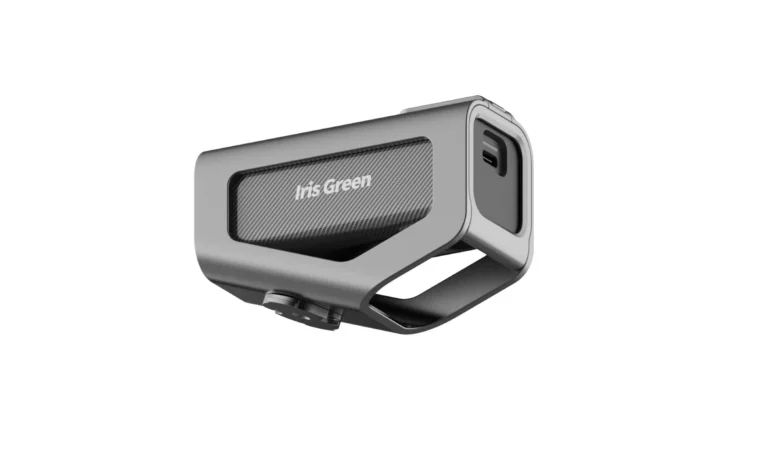
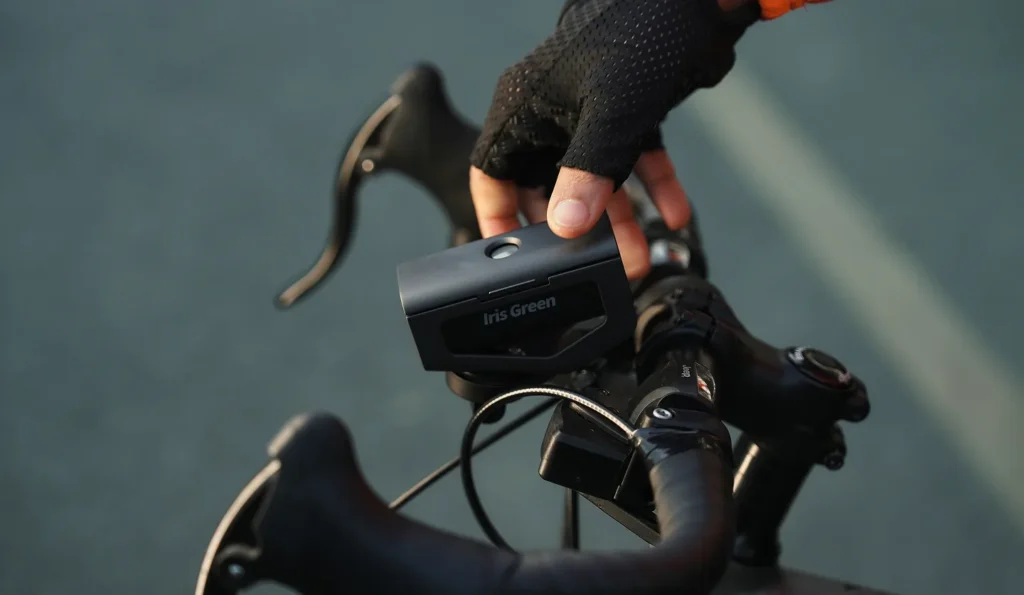
IRIS Green is a bike-mounted projection display developed for night and low-light riding. It can place selected ride information and visual content onto the road ahead, adding another interface alongside conventional bike lights, a phone, or a bike computer.
A layered urban night-riding setup may include a white front light for forward illumination and detection, a red rear light for detection from behind, reflective details for side visibility and movement recognition, predictable riding and hand signals for communication, and IRIS Green for selected projected information and visual content.
IRIS Green is not intended to replace legally required lighting or safe riding practices. Its role is to add a visible digital layer to the night-riding environment.
Urban night-ride visibility checklist
Before leaving, confirm that:
- The front light is charged, secure, and correctly aimed.
- The rear light is visible and not covered.
- Required bicycle reflectors are fitted.
- Reflective details are visible from the front, rear, and side.
- Moving reflective elements are securely attached.
- The route and turns have been reviewed.
- Signals and display settings are configured before riding.
- Local lighting and projection regulations have been checked.
- The phone or bike computer has enough battery.
- A backup lighting option is available for longer rides.
Frequently asked questions
How can cyclists be more visible at night?
Use a working white front light, red rear light, bicycle reflectors, and reflective clothing or accessories. Add side visibility, use predictable road positioning, signal clearly, and keep all visibility equipment unobstructed.
Is reflective clothing enough for night cycling?
No. Reflective clothing should supplement active bicycle lights rather than replace them. Reflective material depends on an external light source, while front and rear bicycle lights create their own visibility signals.
Where should reflective material be placed?
Useful locations include the ankles, knees, shoes, pedals, wheels, jacket, and backpack. Reflective details on moving joints can help other road users recognize the motion of a cyclist.
Does a brighter bike light always improve visibility?
Not necessarily. Beam direction, mounting position, viewing angle, battery life, and glare also matter. A very bright light aimed toward another person’s eyes may reduce comfort and visual clarity.
Does cycling road projection replace bicycle lights?
No. A bike projection display is a supplementary visual interface. It should not replace legally required front lights, rear lights, reflectors, hand signals, or responsible riding behavior.
Conclusion
Staying visible during an urban night ride is not simply a matter of producing more light. Other road users must be able to detect the cyclist, recognize the cyclist, and understand the cyclist’s movement.
Front and rear lights form the essential detection layer. Reflective movement and side visibility help establish the shape and behavior of a cyclist. Signals, predictable positioning, and supplementary visual tools help communicate what the rider may do next.
Cycling road projection can add another visual communication layer, but it is most useful when the fundamentals are already in place. The objective is not to depend on one device. It is to build a clear, layered presence that makes the rider easier to notice, identify, and understand.
See road projection in action.
IRIS Green projects navigation, ride data, visible signals, and personal visuals onto the road ahead.
Explore IRISGreen